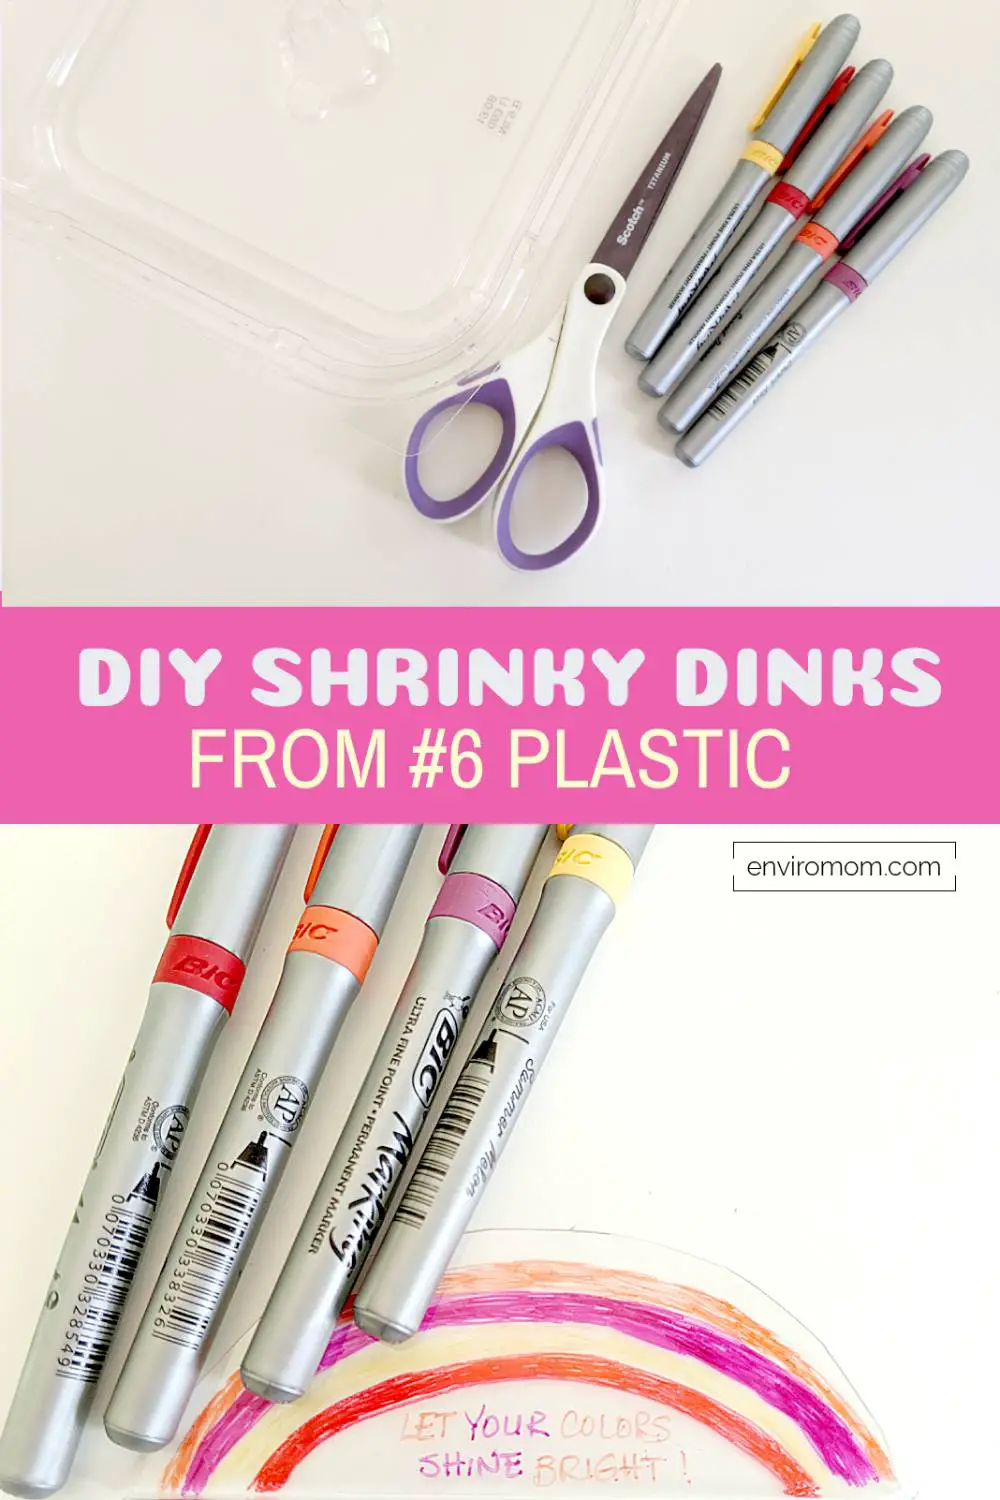
DIY Shrinky Dinks From #6 Plastic!
Looking for the perfect rainy day craft for the kids that is low in cost and where you can use a recycled plastic container? We have you covered with this DIY Shrinky Dinks tutorial.
Shrinky Dinks are an old past-time that kids love. I remember the kits we would get as a kid and had so much fun with them. But what if I told you there is an environmentally friendly way to reuse plastic containers to make your next DIY shrinky dinks!
Yep – plain old #6 containers make the perfect shrinky dink art. You can reuse plastic you may have got from ordering take out – or you can purchase some at your dollar store. Any #6 plastic will work – just make sure it says #6 on the bottom of the plastic.
If you do decide to use a plastic container from a food that was leftover just make sure it is fully cleaned and dried!
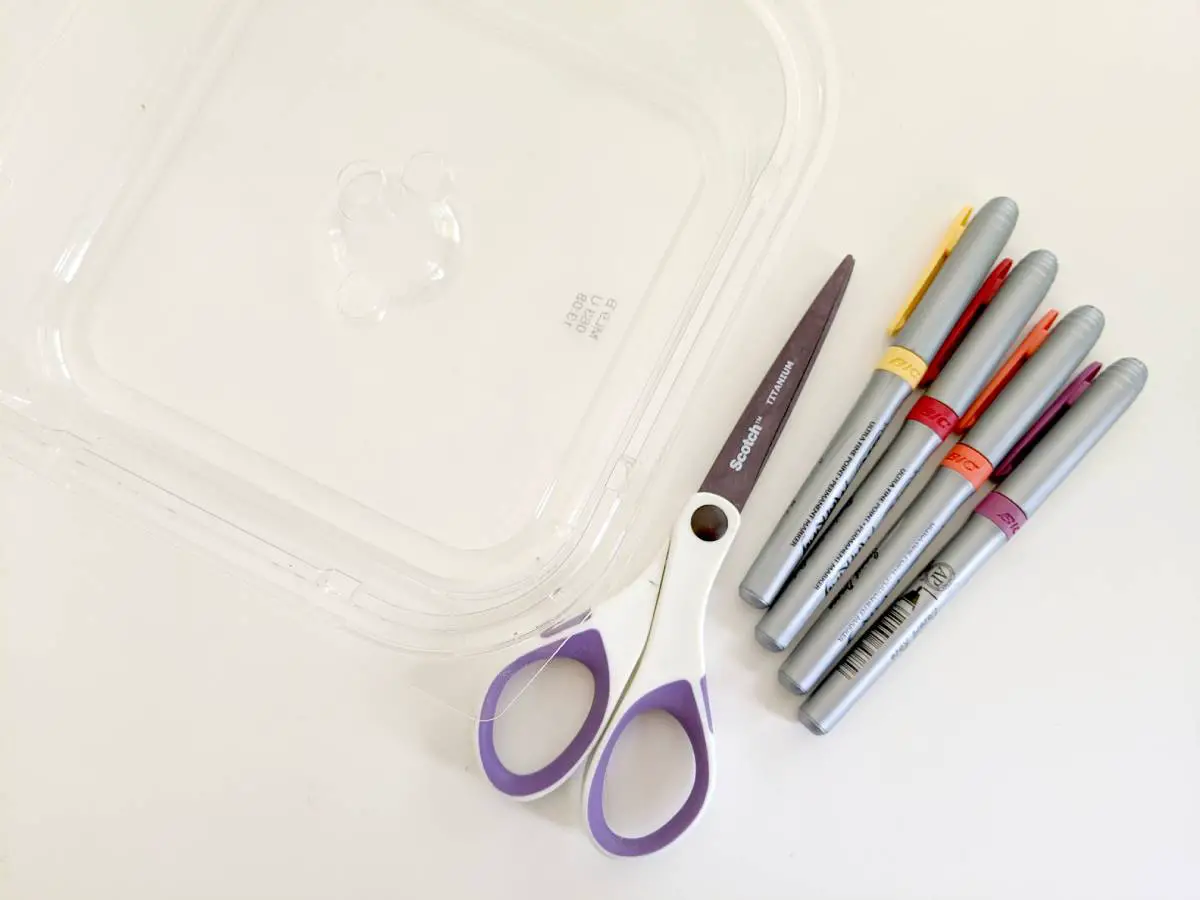
What You Will Need
- Flat #6 plastic
- Colored permanent markers
- Scissors
- Tin foil
DIY Shrinky Dinks Steps
Step 1
Preheat your oven to 350 degrees.
Step 2
Cut the plastic into sizes and shapes you want your shrinky dinks to have. Remember your shrinky dink will shrink to about 1/3 of the size of the original plastic. You can be creative with this – do circles, squares, lightning bolts – whatever your imagination can come up with.
Because you will need very sharp scissors to cut this plastic, we recommend the parents do the cutting for younger kids!
Step 3
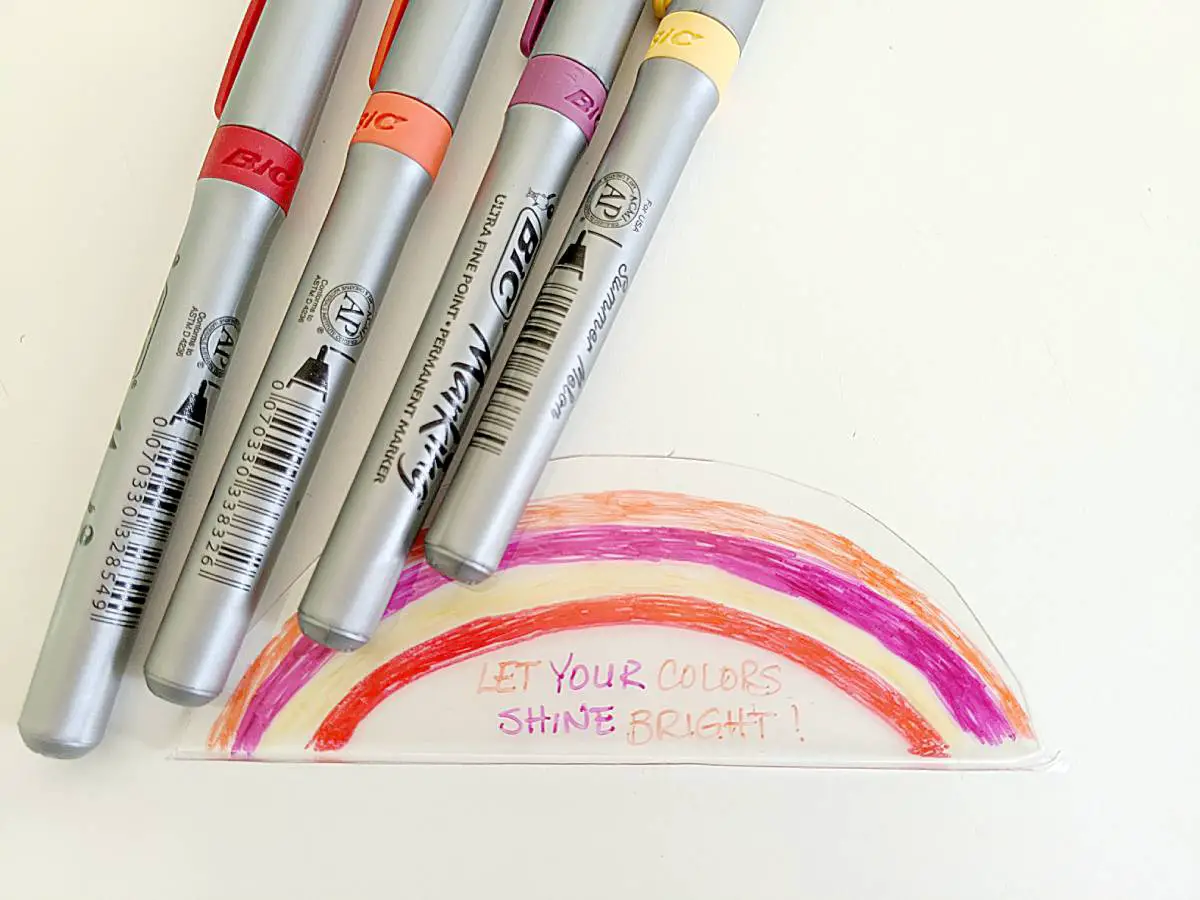
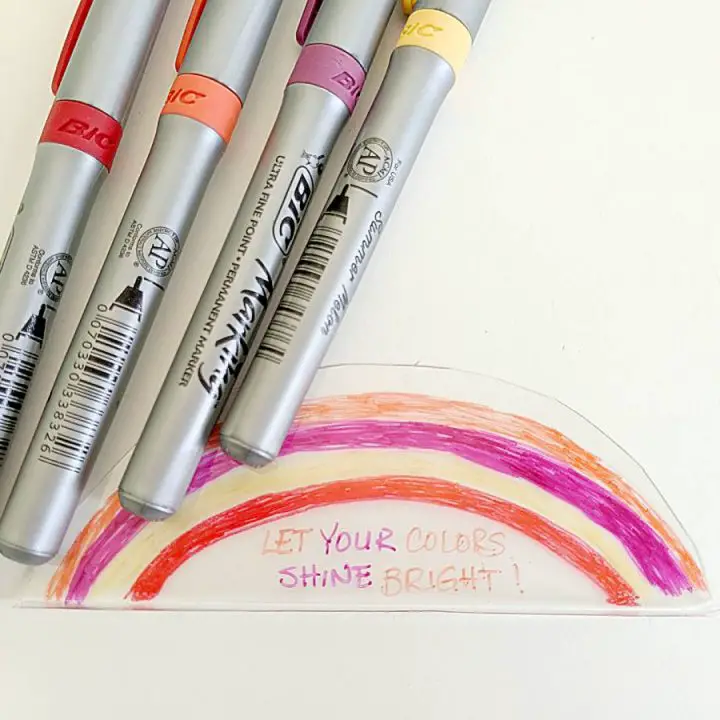
Draw out your design on your plastic and color it in. Use a pencil first if you would like – it will be faint but may be enough to get you a guide to start your design before committing to using marker.
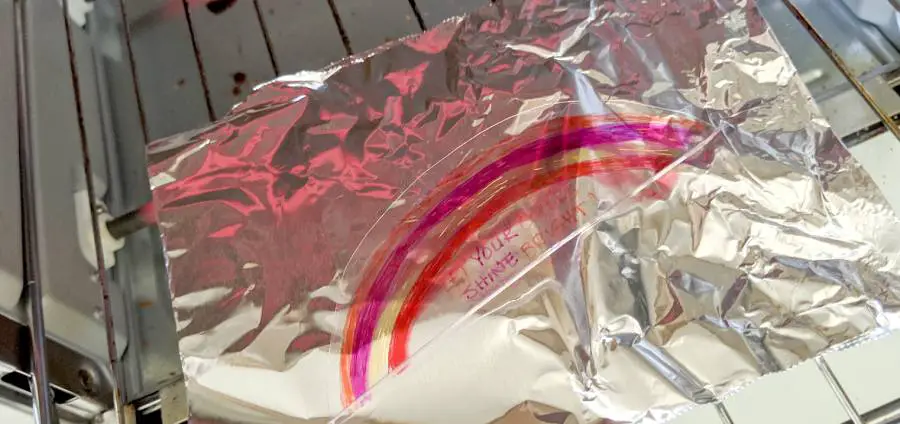
Step 4
Place your finished plastic on a piece of aluminum foil. You can fold up the edges of the foil to prevent your plastic from slipping around or off!
Place in oven and allow to bake for about 3 minutes. We highly recommend you watch it while it does its magic – the kids especially will love watching them curl up and shrink.
Note: while you can use a baking pan, because they are thicker it may take longer to bake!
Step 5
Once the shrinky dink has become flat again you can remove it from the oven. They will be hot so please use an oven mitt or tongs to remove them.
Let cool!
Be Creative
Now that you have your shrinky dink – think about the creative ways you can use them! In the video below for example they made rings out of shrinky dinks!
But what about shrinky dink trees – or necklaces. There are just so many cool things you can do with these adorable trinkets.
Plastic Toxins When Baking
While I was not too concerned about this since this is not something we do often, we wanted to make parents aware of any issues that any of our posts may have so you can make the right decision for your family! We are big on trying to use non-toxic materials in everything we do – even non-toxic and silica free sand for the sandbox is something we researched to ensure that we were keeping the kiddos safe!
No. 6 plastic when heated can release styrene fumes in small amounts – typically this is an issue when you plan on eating or drinking out of the containers as the styrene may seep into the food or drink. This is why they recommend never reheating food in the containers they come in.
We could not find any sources that noted it would seep into the air – but if you do decide to bake them in the oven it might be a good idea to have the windows and doors open just in case. You can also bake them outdoors in a toaster oven or on a grill if you are really concerned.
I have only done these with my daughter a couple of times, but we do them in the oven and with the door open and feel perfectly safe doing so.
Can You Use #1 Plastic For Shrinky Dinks?
While you can – and we know #1 plastic is more common, it will not come out as good as the #6 plastic does. The #1 plastic does not seem to flatten as much as the #6 which leaves a bit of a curve and it did not shrink as much either.
DIY Shrinky Dink
A perfect recycled project for the kids! Create beautiful shrinky dinks from #6 plastic containers.
Materials
- #6 Plastic container - thoroughly cleaned and dried
- Permanent colored markers
- Aluminum foil
- scissors
Tools
- Oven mitt to remove hot shrinky dinks from oven
Instructions
- Cut the plastic container so that you have perfectly flat plastic sheets to make your creation
- Draw your design on the plastic piece with your colored markers
- Preheat oven to 350° and place rack in lowest position
- Place shrinky dink on aluminum foil and place in oven
- Allow the heat to do its magic for about 3 minutes then remove with oven mitt
Notes
When deciding on how big of a piece of plastic to use, remember your plastic will shrink to about 1/3 of the plastics original size. If you started with a 3" high plastic piece - it may only be 1" or so in height when it is finished. The thickness will also be different - so make sure your size your original piece of plastic accordingly.